Image
processing

Taking a picture of an astronomical target is - in principle - simple if the object is bright enough, so the exposure can be of sufficient short duration, less than, say, few seconds. Using my equipment, I have used various methods to obtain pictures.
My 8” Dobson is basically a telescope to be used for visual, i.e. non-photographic observations. However, the Imaging Source DMK31AU03.AS can be mounted into the focus. The camera then produces a video-like sequence of up to several hundred frames, each with a very short exposure. The telescope therefore does not need to be guided to compensate for the Earth rotation, however, the possibility exists to mount the Dobson on the Celestron CGEM mount for guiding. The video will be processed using Registax which essentially shift and stack each individual frame to create an integrated image. This technique works very well for pictures of the Moon, or planets.


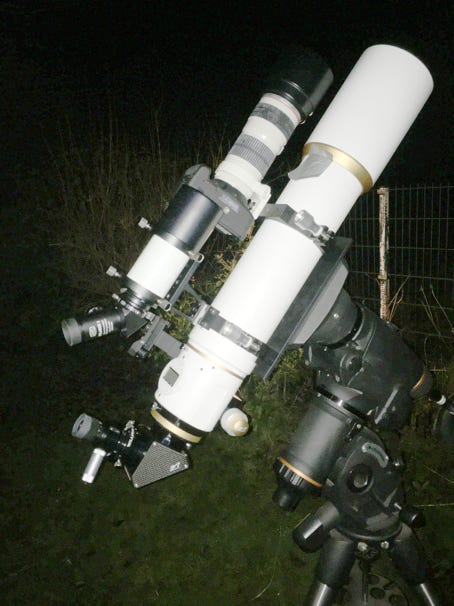
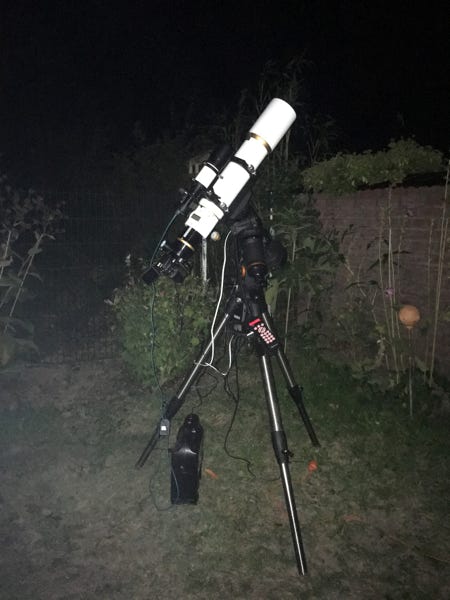
Taking pictures using the William Optics Refractor 110 mm FLT APO f/7, I am using either the Canon EOS 450D with an UV-IR clip filter, or the Canon EOS 600D, which has been modified: the original Canon filter has been replaced by a Baader UV-IR filter.
The Canon DSLR can be used in the prime focus, or behind an eyepiece, the so-called eye-piece projection, which effectively increases the system focal length significantly, interesting for pictures of the Moon.
In general, except for pictures of the moon or bright planets, the telescope must be guided by the CGEM mount during the exposure to compensate for the Earth rotation. Without it, point-like stars would become trails. For images requiring a long(er) exposure it is further mandatory to activate the autoguider, a CCD device which measures a selected star in the field-of-view and constantly controls the CGEM mount, actually accelerating or decelerating the speed around both axis, as needed, so that the target does not significantly move during the exposure. A large number of frames each with short exposure has various advantages over one frame with very long exposure.
Before exposures with auto guiding - recommended for all deep-sky objects which are usually faint - can begin, the CGEM mount must be aligned to the stellar sky and also aligned to the North celestial pole. This is usually done by measuring the position of a number of alignment and calibration stars, so that the CGEM mount can calculate a model of the night sky, so the user can point the telescope to any visible source using the Go-To functions. The, sometimes time-consuming alignment procedure, which has to be done before every observing night (unless the telescope is mounted at a fixed location), can be very conveniently achieved using the Celestron StarSense module, see Equipment, above.
Pictures taken by the Canon DSLR’s can be in JPEG format, but for image processing, which includes background subtraction, noise reduction, stacking etc, it is recommended to use the RAW data format.
Usually a target (e.g. globular cluster M3) is exposed with 30 frames, 120 sec exposure each. Data reduction of all frames can be done using software like fitswork, and GIMP.
Recently, I entered the steep learning curve of processing my data using the software PixInsight, which is described below. PixInsight is being used as the default processing software for all pictures taken as of End 2019. Data processing of RAW or FITS data requires to obtain not only light frames, but also a sufficient number of flat, dark and bias frames.
PixInsight
PiXinsight is a suite of image processing software tools . Testing older data with PixInsight delivered nice results, so, I decided in 2020 to re-process, with PixInsight, all images (of sufficient good quality) which I had obtained in the years before 2020. The results, superior than obtained previously, with e.g. fitswork & GIMP, can be compared with those images on the various pages.
The individual processing steps with PixInsight depend, in detail, on the target image (i.e. nebula or globular cluster), and consist of various independent pre-processing and post-processing functions of linear and non-linear data. Key to a good understanding of PixInsight is Warren Keller’s textbook “Inside PixInsight”, Springer 2018.
Pre-processing of data include creation of master dark, master bias and master flat frames, calibration of light frames, cosmetic correction, debayer (DSLR), star alignment (registration) and image integration (stacking).
In general, I have taken dark frames during each observing session, but bias and flat frames were only taken during recent observing sessions as of Fall 2019 and later. Data reduction of light images taken before Fall 2019 used flat and bias frames taken early 2020. That’s an “ok approach” for older data. Recently I learned that it is mandatory to take flat frames at the end of each observing night (“dust never sleeps”), and dark and bias frames only if gains, sensor temperatures or exposure times vary.
Post-processing then included in most cases: background modelisation and neutralisation, color calibration, conversion into non-linear data space, channel combination, noise reduction, curve transformation and color saturation. In some cases, e.g. M42, M81 and M13, a high dynamic range compression was involved to treat the very bright cores of those targets. Depending on the image/target, deconvolution, contrast enhancements etc. might be required.
As a finishing touch, astrometric (image solver) and annotation scripts were applied.